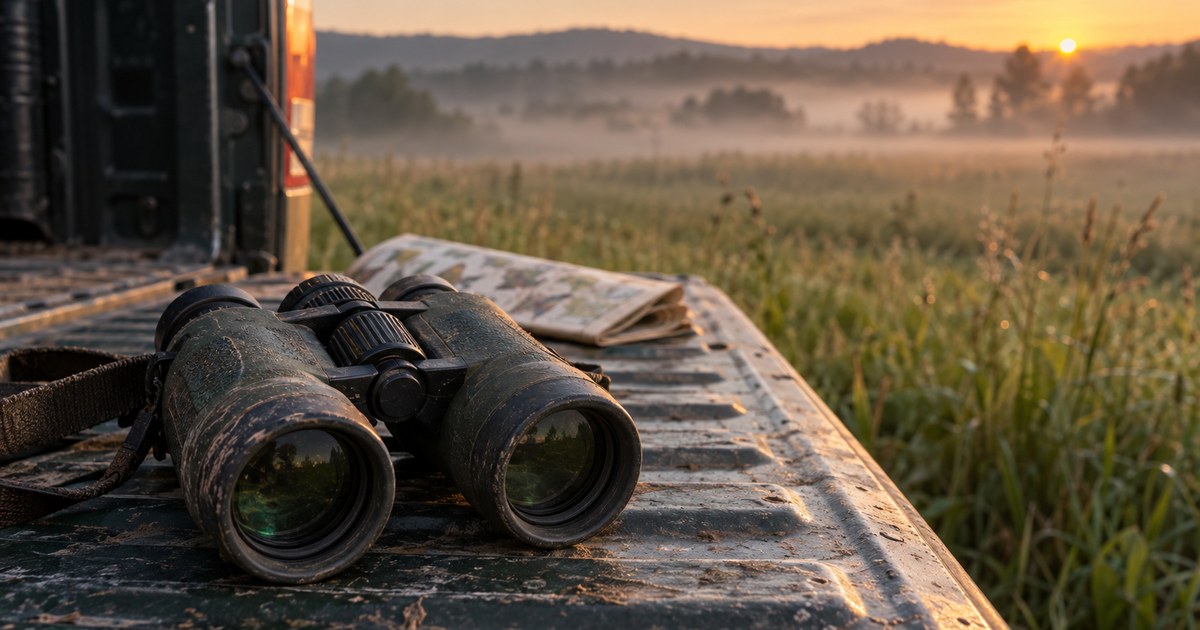
The frame has to hold the feature that separates the candidates, not the whole animal looking majestic. Zoom with the lens, brace your elbows, shoot at dawn or dusk from the edge of a clearing, and take four shots in a fixed order so that a moving animal still gives you one usable frame.
Almost every unidentifiable wildlife photo fails for one of four reasons, and none of them is the camera. The animal was too small in the frame, the shot was taken into the light, the phone was moving, or the one feature that would have settled it was pointing the other way. All four are fixable from where you are standing.
What does an identification actually need to see?
Not the whole animal, and usually not the head. It needs whichever feature separates that animal from the two or three things it could otherwise be, and that feature is different for every group.
For a canid at distance it is the tail and the legs rather than the face, because tail carriage, tail tip and lower-leg color are what split a coyote from a fox, which is the job the coyote or fox guide does feature by feature. For a black bird in flight it is the spread tail. For a snake it is the pattern down the back plus the head in profile. For a spider it is the front of the head and the shape of the web.
The practical consequence is that you should decide what you need before you raise the phone. One second of “what would tell these two apart” turns a pretty photograph into a usable one.
Why zooming with your feet is the wrong move
Two reasons, and the first one is about the photograph rather than the animal.
The U.S. Fish and Wildlife Service puts it directly: maintain your distance, because you will capture more interesting behaviors if the animal is relaxed and not threatened by your close proximity. An animal that has noticed you is an animal in a posture it does not normally hold, often facing you, often about to leave. The features you need are usually shown by an animal going about its business.
The second reason is that agencies draw the line for you and the line is behavioral rather than metric. Texas Parks and Wildlife’s watcher code gives the cleanest formulation anywhere: when an animal changes behavior as a result of our presence, we are too close. The same code asks watchers to use binoculars, spotting scopes and viewing blinds for a close look, to use a telephoto lens from a viewing blind or a vehicle, to avoid nests and dens, and never to chase, herd, flush or make deliberate noise that stresses wildlife. Washington’s viewing guidance says the same thing more briefly: observe wildlife from a distance, and for a closer look use binoculars, a spotting scope, or a camera with a zoom lens.
What actually improves the frame
Use the optical reach you have, and understand its limit. Missouri’s conservation department publishes a good plain-language guide to optics, and the part that transfers to a phone is the tradeoff at high magnification. It notes that most birders seldom use the 60x end of even large, expensive scopes, because of the narrow range of vision at that end of the magnification range and the effects of heat waves, viewing through precipitation, or the shaky picture resulting from even a slight wind. Your phone’s maximum zoom has the same problem in a smaller package. Back off one step from the maximum, and you will usually get a sharper file that crops better afterward than the shaky one did.
Brace. The National Park Service gives the specific move: use the zoom on your phone or camera, and to steady your shot, touch your elbows to your ribcage, or rest your elbows on your knee or another stable surface. It also notes that your phone’s volume buttons may work to zoom, which matters when one hand is holding binoculars.
Use the car. Both agencies point at the same trick. The Park Service says to pull safely off the road and use your car as an enclosure for viewing and photographing from a distance, and Missouri’s optics guide notes that cars make great blinds. A window frame is also a rest for your elbows.
Go at the right hour. The Park Service says to time your outing when wildlife is most active, ideally dawn or dusk. Fish and Wildlife adds that morning and evening are best for lighting, that wildlife tends to be more active then, and that cloudy days are also good for photography. Washington agrees that viewing and hearing wildlife is best at dawn and dusk. Flat overcast light is the friend of an identification photograph, because it removes the blown highlights and blocked shadows that swallow a pattern.
Look at the edges. The Park Service advises looking to the edges of the landscape, where forest trees meet an open meadow. Edges are where animals travel and where the background is far enough behind them to give you separation.
Stay quiet and still, and be patient. The Park Service notes that noise and quick movements can threaten wildlife. Fish and Wildlife’s single most emphasized tip is simply to be patient. Washington adds to move slowly and quietly.
The four shots, in order
Shoot in this sequence, because the animal decides how many you get.
One: the whole animal, as large in the frame as the zoom allows, side on. If you get exactly one frame, this is the one you want. It carries proportion, posture, tail and leg length.
Two: the feature you decided on before you raised the phone. Tail, head profile, wing shape, pattern, whichever it is.
Three: a wider frame that includes the setting. Habitat is a real identification input, and so is scale. A fence rail, a road stripe or a car in the same frame gives a reviewer something to size the animal against.
Four: anything the animal is doing. Gait, feeding posture, how it moves off. Behavior separates species that hold still identically.
If the animal is leaving, take one, three and four while it goes. A blurred frame with the setting in it beats no frame at all.
When the photo is not going to carry it
Sometimes it will not, and the right response is to record everything else. Washington’s guidance is to use all of your senses, since hearing, seeing, touching and smelling can help you find animal signs such as calls, tracks, scat, trails, nests or burrows and webs. Photograph the track, the scat or the trail. Note the date, the time, the habitat and what the animal did. That set is often enough for your state wildlife agency or a local naturalist to name the animal even when the photograph is useless.
When you do get a usable frame, a name is one step away. Animal Identifier reads a photo of the animal itself, from the camera or your gallery, and returns a species with its Latin name, taxonomy, habitat, diet and behavior along with a match percentage, which is a confidence figure rather than a verdict. Feed it the sharpest whole-animal frame rather than the most dramatic one, and the scan history keeps the sighting as a dated record of what has been crossing that field.
What animal is this is the general walk-through for a photo in hand, the field-sign guides cover the marks an animal leaves when you never see it, and identifying a snake from a photo and identifying a spider from a picture each show which features have to be in the frame for those groups.
Sources
- How To Photograph Wildlife, U.S. National Park Service
- Wildlife Photography Tips, U.S. Fish and Wildlife Service
- Binocular and Spotting Scope Basics, Missouri Department of Conservation
- Wildlife Watchers Code of Ethics, Texas Parks and Wildlife Department
- Wildlife viewing tips and tricks, Washington Department of Fish and Wildlife